NOI | MAKER SPACE
Open Lab for product prototypes and small series.
About NOI | MAKER SPACE
South Tyrol's largest makerspace for prototypes and small batches houses a wood workshop, a metal workshop, an electronics area and a textile area. It is equipped with high-tech devices and machines. These include a laser scanner, a 3D scanner, various 3D printers, a vinyl cutter and CNC milling machines. From rapid prototyping to supervised prototype building to individual use, companies, start-ups and freelancers can lend a hand or commission projects in the Maker Space.
Experts
Workshops
Lab Members

Aaron Andreis
Italy / NOI | MAKER SPACE
Maker Space Technician
I am a maker and entrepreneur who has always been passionate about technology and computers. I have a thousand ideas in my mind, but not enough time to bring them all to life in this lifetime. Thanks to my experience in diverse fields of work and all the projects I undertake in my free time, I have a 360-degree view when it comes to understanding the various steps necessary to prototype an idea. I enjoy assisting people with brilliant ideas.
Walter Weissensteiner
Italy / NOI | MAKER SPACE
Maker Space Manager
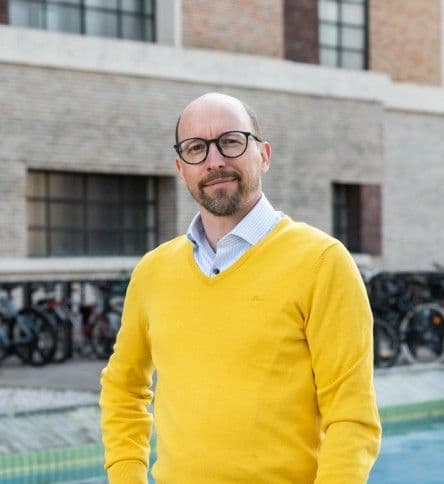
Walter is a physicist by training who found his home in making: in 2013 he founded Bolzano's first FabLab and has since become one of South Tyrol's leading experts in 3D printing and additive manufacturing. Today he runs the NOI Maker Space, increasingly used by local startups and companies. His core skill is finding a technical solution for whatever challenge lands on his bench - from CNC cutting and milling to electronics, metrology and textiles. Knowing every machine in the lab inside out, he helps makers and teams pick the right technology for their project.
Workshops from NOI | MAKER SPACE
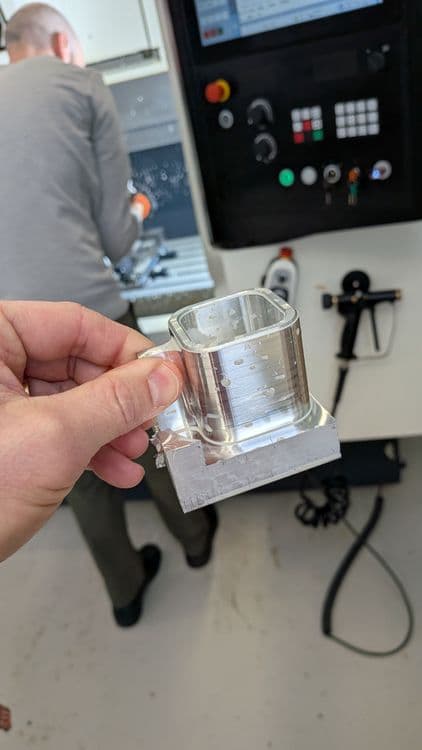
You already know the CAD basics — now it is time to move into professional digital production. This three-day course takes you from the digital model to the finished workpiece: planning the machining, defining the toolpaths, verifying every detail in simulation, and safely operating the milling machine. Day 1 covers the fundamentals in the classroom: how milling works, how to choose tools and cutting parameters, how to design a part that can actually be machined on a 3-axis machine, and how to build, simulate and post-process a complete CAM job in Autodesk Fusion 360. Between the sessions, every participant prepares their own CAM jobs — one for aluminium and one for wood — as homework. Days 2 and 3 are spent at the machines in small groups: the DMG MORI M1 metal mill and the BZT PFU-S2 CNC wood router. Working from the safety and operating instructions of each machine, participants carry out every step themselves under supervision — workholding, setting the workpiece zero, checking their own G-code against the machine, starting and supervising the job — and produce their own designed parts in metal and in wood.
Target: General
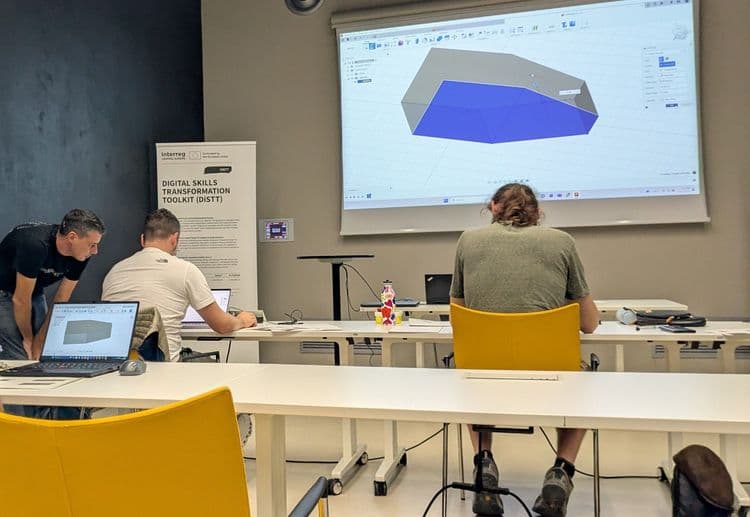
LEARN IT! CAD Basics introduces beginners to CAD as a practical tool for turning real problems into testable physical prototypes. Participants work on a small personal CAD Challenge and move through the complete development loop: Problem → Geometry → CAD Model → Prototype → Test → Modify. Using Autodesk Fusion, participants learn 2D sketching, parametric 3D modelling, design intent, basic technical documentation and preparation for digital fabrication. The focus is not on learning as many software functions as possible, but on developing the confidence and independence to create, adapt, fabricate and improve simple CAD solutions.
Target: General
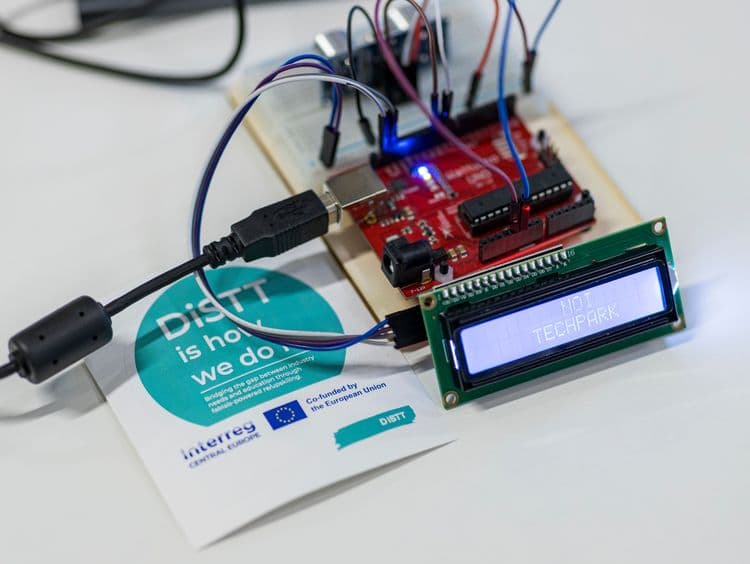
Microcontrollers turn a passive object into one that senses, decides and reacts. This one-day course builds the foundation needed for that: electrical quantities and Ohm's law, reading and building simple circuits, the Arduino board and its programming environment, and the interplay of sensors, code and actuators. It is designed for people with no previous experience in electronics or programming. The first part of the day works from theory to the first working circuit. After a short introduction to the platform, participants cover voltage, current, resistance and power, then identify the components in their kit and their schematic symbols. They build an LED circuit with a series resistor on the breadboard by hand, size the resistor themselves, and extend the circuit with push buttons in series and in parallel to see logical AND and OR behaviour physically before it appears in code. The second part moves to the board. Participants install the development environment, upload a first sketch, and work through digital output, digital input with pull-up resistors, analogue input, PWM, servo control, and light and distance sensing. Libraries are introduced through real components — a temperature and humidity sensor, an addressable LED strip and an I2C display. Every topic has a base exercise and an optional harder variant, so beginners and faster participants progress at their own pace. The day closes with an open block in which each participant designs and builds a small device of their own from the kit. All hardware is provided.
Target: General
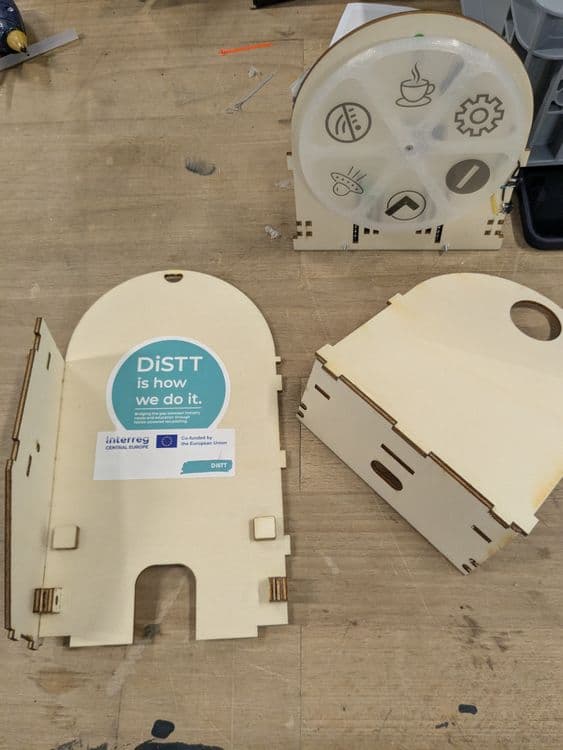
A docking station that charges a phone and, at the same time, shows the people around you whether you are available: a rotating status wheel and a coloured LED driven by an ESP32 that reads the presence status from an online collaboration platform. The housing is plywood and 3D-printed parts; the interesting part is what happens between the object and the internet. The housing is largely pre-assembled before the session, so that the afternoon is not spent on gluing and clamping. Participants wire and solder their own electronics — servo, buttons and an addressable RGB LED — from a wiring diagram, produce the printed status wheel on the UV printer, and mount the mechanism and the screwed panels themselves. The centre of the workshop is the connected part. Participants meet the ESP32 and what its Wi-Fi interface changes compared to a standard Arduino board, then work through how a device asks a service for information: REST requests, the JSON response, the presence states and the token a device needs before it may ask anything at all. The sketch is provided ready-written; participants flash it, read it and adapt the parts that are theirs — credentials, pins, colours and the mapping from status to colour and wheel position. Prior Arduino experience is required.
Target: General
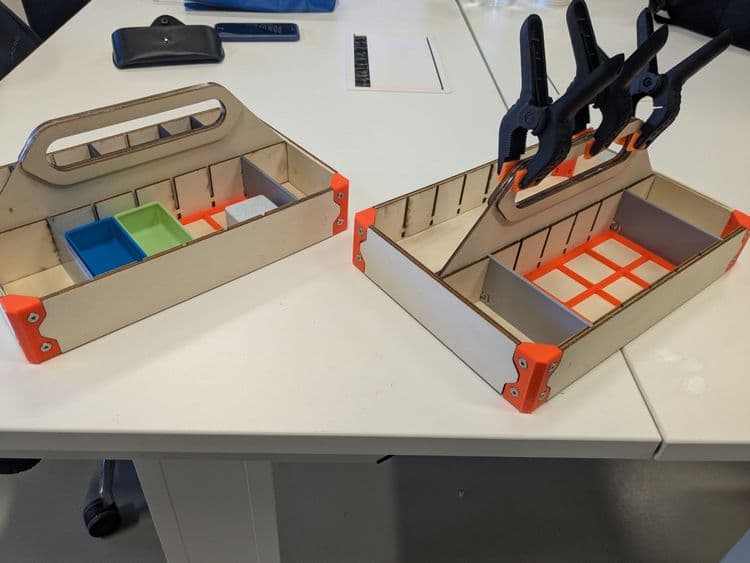
Whether it is a workbench, a laboratory or a desk, everyday tools work better when each one has its place. In this workshop participants build a tool tray of their own from laser-cut plywood and 3D-printed inserts, dimensioned and subdivided around the tools they actually use. It is an entry point into digital fabrication for people with no previous experience: the whole path from an idea to a finished object is covered in a single afternoon. The tray is a modular open-source design available in two base sizes. Its parts — base, sides, corners, dividers, handle, hook and a Gridfinity base plate — are prepared in advance, and how they were produced is demonstrated on the laser cutter so that participants understand the process without waiting for the machine. Assembly then happens in two phases at the workbench, with sanding, gluing and finishing done by hand. Between the assembly phases participants work on the inserts. After an introduction to the FDM 3D printers they choose Gridfinity-compatible parts from open-source libraries, generate their own with the Fusion 360 Gridfinity generator, or produce a custom insert by photographing their tools on a sheet of paper and converting the image into a printable model. Participants are asked to bring the tools and objects they want the tray to hold; all materials are provided and the finished tray is theirs to take home.
Target: General